Create a sandbox, run a command, write a file, take a snapshot, and tear it down. The whole loop, end-to-end, in about five minutes.
Everything below uses the SDK, which handles polling, retries, idempotency, and serialization for you. The dashboard path is at the bottom if you’d rather click through; raw HTTP is documented in the Sandbox API tab if you need it.
Prerequisites
- A Brimble account. Free plan works for non-paid regions; paid regions need a Hacker plan or higher.
- An API key from the profile drawer (avatar → API key). Paid plans only.
- The SDK for your language installed and
BRIMBLE_SANDBOX_KEY set in your environment.
npm install @brimble/sandbox
export BRIMBLE_SANDBOX_KEY="sk_..."
Step 1: Create a sandbox and wait until it’s ready
createReady creates the sandbox and waits for it to leave starting, so the next line of code can start using it immediately.
import { Sandbox } from "@brimble/sandbox";

const client = new Sandbox();

const sandbox = await client.sandboxes.createReady({
  region: "auto",
  template: "node-22",
  name: "my-first-sandbox",
});

console.log(sandbox.id, sandbox.status); // ..., "ready"
region is optional. "auto" lets the server pick the best region for your account; omit the field entirely for the same behaviour. Pass a specific region ID from listRegions() to pin one.
Step 2: Run a command
const result = await sandbox.exec({
  cmd: "echo hello from brimble && uname -a",
});

console.log(result.stdout);
console.log("exit:", result.exit_code);
createReady and used create instead), pass waitUntilReady: true and the SDK will wait for you.
Step 3: Run code in a language runtime
runCode is the language-aware sibling of exec. Hand it a snippet and an interpreter.
const result = await sandbox.runCode({
  language: "python",
  code: "import sys, json\nprint(json.dumps({'version': sys.version}))",
});

console.log(result.stdout);
Step 4: Write and read a file
await sandbox.putFile("/app/index.js", "console.log('hello')");

const buf = await sandbox.getFile("/app/index.js");
console.log(new TextDecoder().decode(buf));
Step 5: Take a snapshot
A snapshot captures the sandbox’s filesystem as a restorable image. Launch a fresh sandbox from a snapshot later and get exactly that state back.
const snap = await sandbox.snapshots.create({ name: "first-snapshot" });
console.log(snap.id, snap.status); // status starts as "creating"
status starts as creating and flips to ready when the image is built. See Snapshots for the full lifecycle, including automatic snapshots.
Step 6: Destroy
Persistent volumes (if you created the sandbox with persistent: true) are detached, not deleted; you can attach them to a future sandbox by passing their volumeId.
Destroy is final for ephemeral sandboxes. Anything written to a non-persistent sandbox is gone the moment you destroy. Snapshot or save to a persistent volume first if the work matters.
What to try next
- Set
oneShot: true on creation to auto-destroy the moment your main process exits, perfect for batch jobs.
- Set
blockOutbound: true if you’re running untrusted code and want it to have no outbound network access.
- Set
autoDestroy: true with a destroyTimeout (30m, 1h, 3h, 6h, 12h, 18h) so abandoned sandboxes clean themselves up.
- Restore a sandbox from a snapshot by passing
fromSnapshot: "<snapshot-id>" on create.
- Use
client.sandboxes.quickstartNode() or quickstartPython() for one-line “give me a persistent dev box” presets. See SDKs.
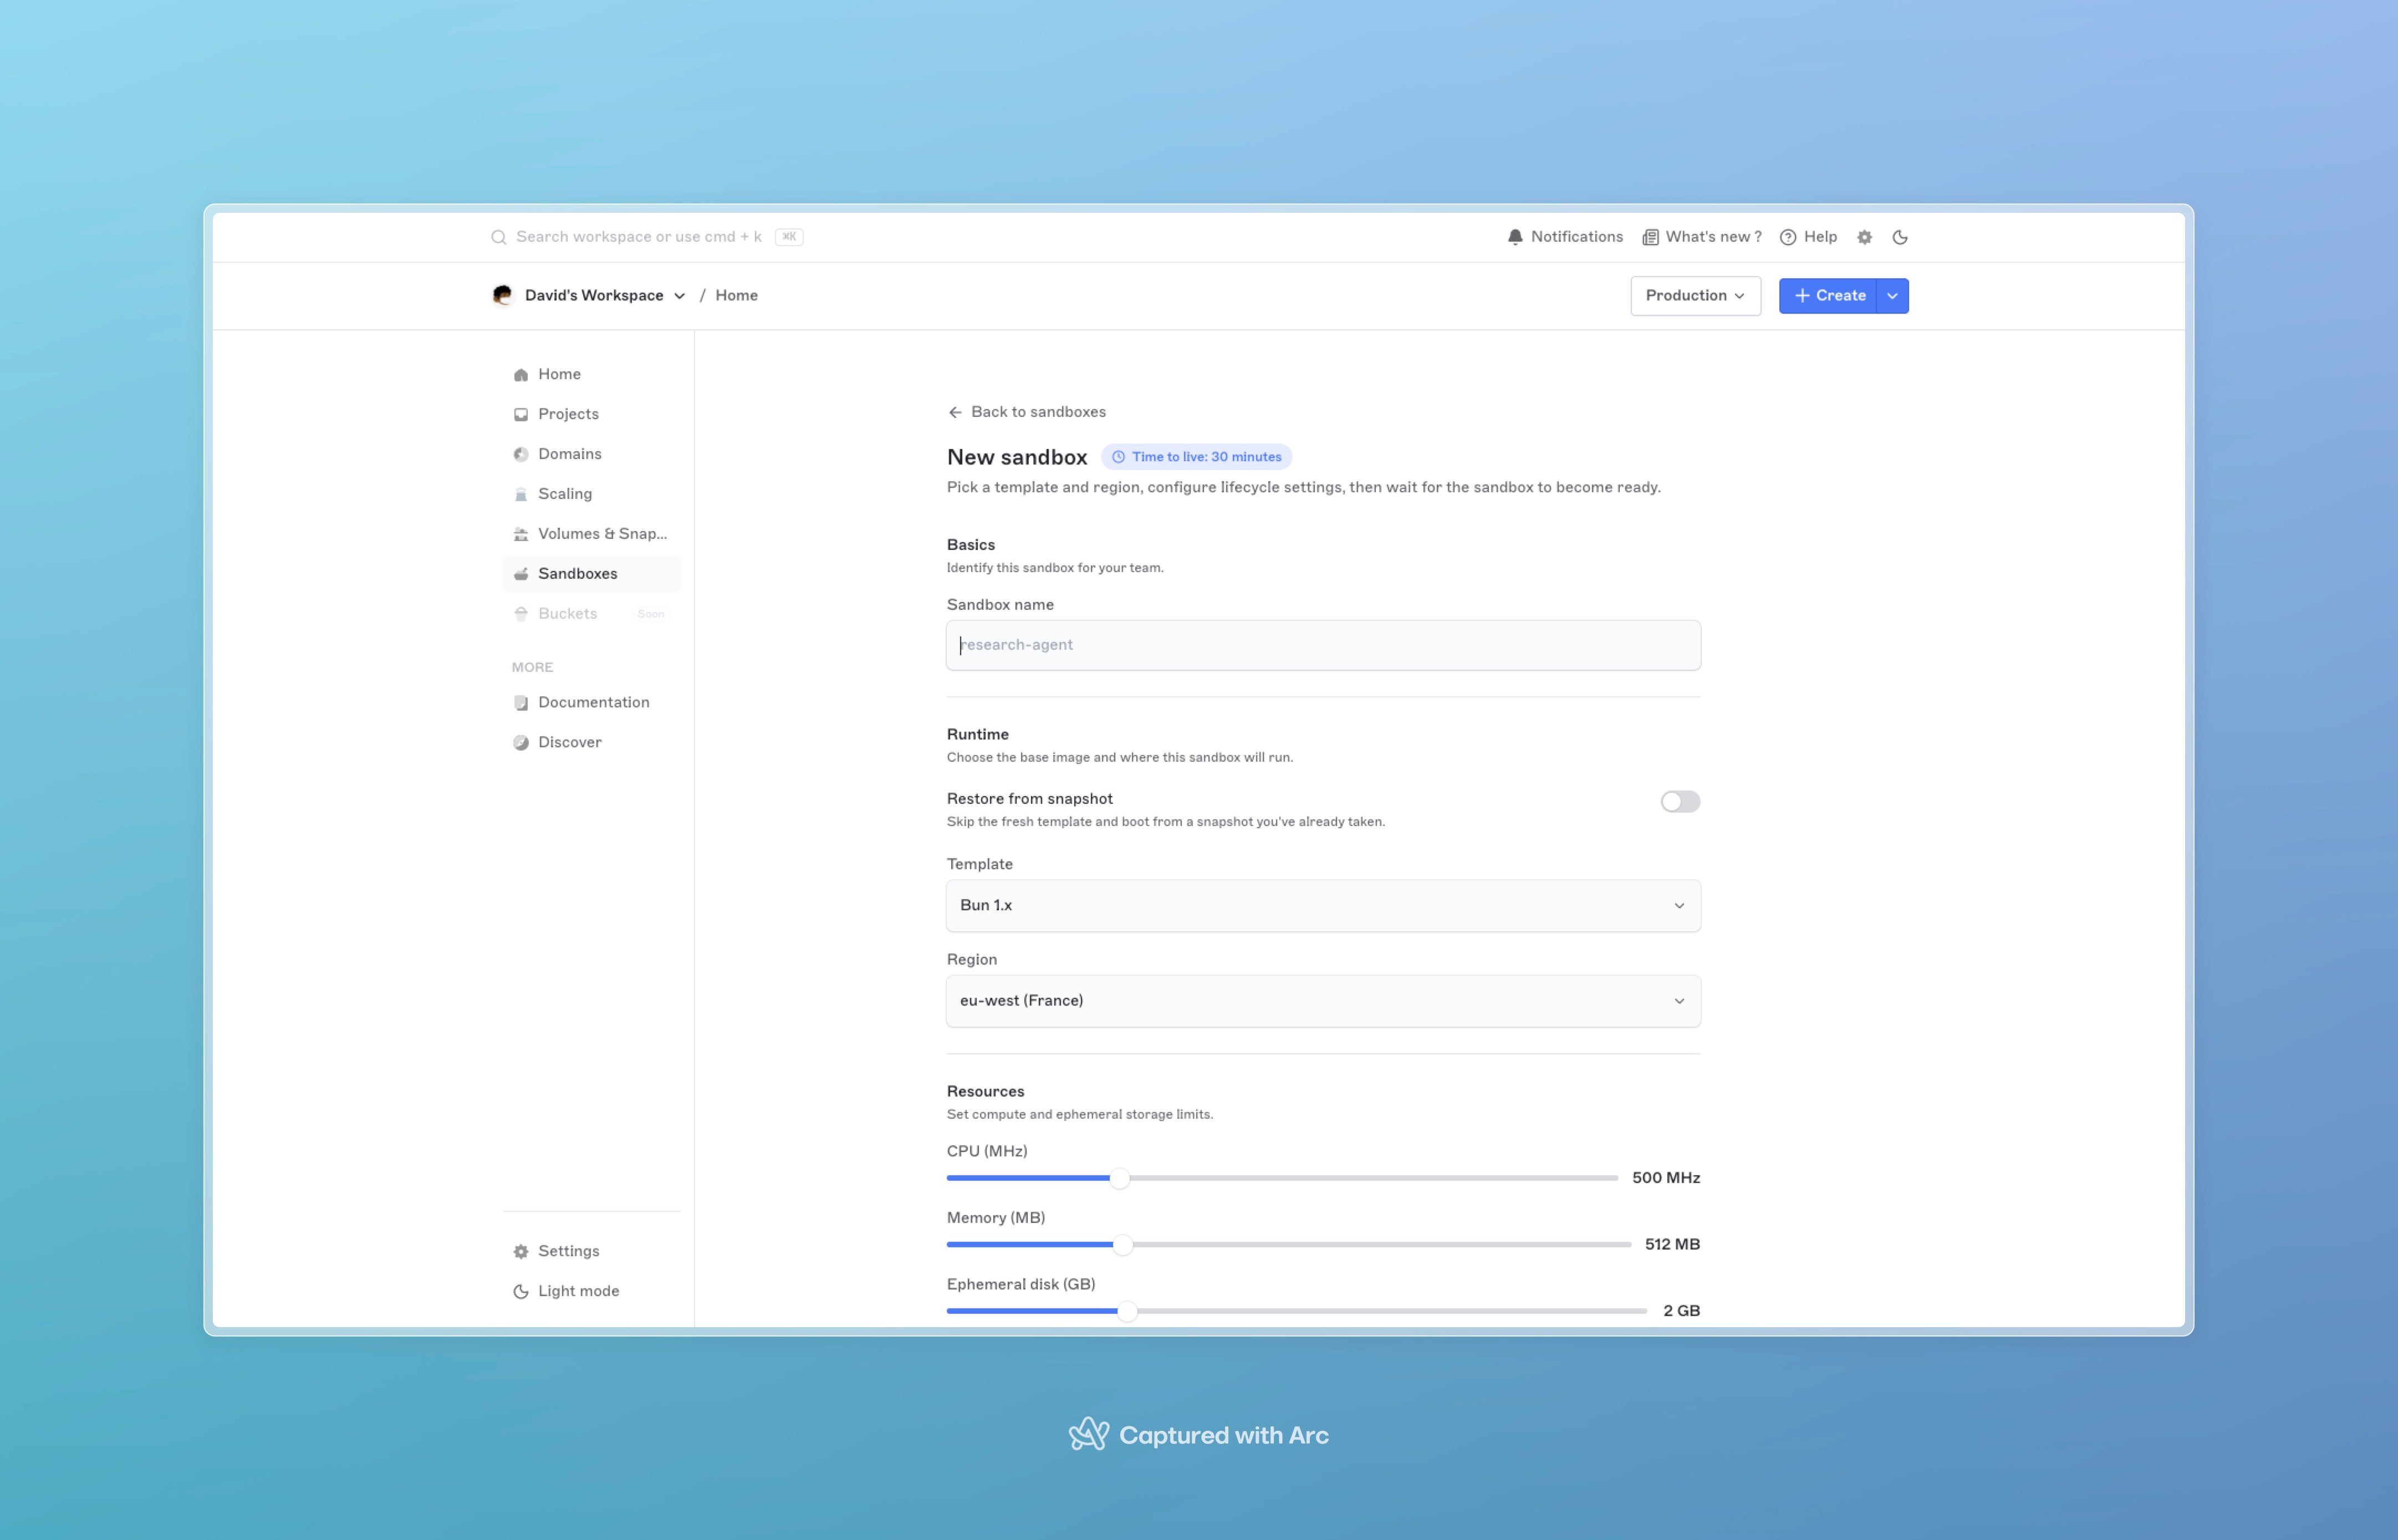
From the dashboard
If you’d rather click through it first:
- Open the dashboard.
- Click Sandboxes in the sidebar, then New sandbox.
- Pick a template (e.g.
node-22, python-3.12).
- Pick a region. Free-plan accounts only see free-tier regions.
- Optionally set CPU, memory, and ephemeral disk under Specs.
- Click Create. The dashboard takes you to the sandbox detail page; status starts as starting and flips to ready in a few seconds. From there, Terminal, Files, and Snapshots tabs cover the rest of this flow.
Next steps
- SDKs, full reference for the TypeScript, Python, and Go SDKs, all the helpers, streaming, batch uploads, retries.
- Sandboxes overview, lifecycle, sizing, billing.
- Snapshots, manual + automatic snapshot flows.
- Cookbook, end-to-end recipes for common sandbox use cases.